Tuesday, June 12, 2012

...surface decorating...finally...

Well, I need to start adding some surface color/texture etc to my pots so I can start firing.  I've been thinking a great deal about what exactly to do....SOOO many choices.  I don't want to do any bisque firing as I think I want to add colored slip to the surface...whcih has to be done to leatherhard or green clay.  I don't want to have to mess with engobes at the bisqued stage.  I have a decent palette, but I would really like to get some red and other vivid colors.  I need to just jump in and do SOMETHING, so here's one pot with some colored slip.

...first, though, I had to add a handle to this pot...one lizard will do.  This image shows the lizard mid-stage.  You can see how I get the lizard the way I want it to look by using images from my book (to the left), Googled images, and my little plastic friends :)

 OK, so I finished the little guy and now have added some colored slip.  I just add stains or colorants to some porcelain slip I made.  The dark gray is copper slip...the orchid is actually mazarine blue, the "leaves" are a mix of yellow/chartreuse, and a grayish green...and the black lines are cobalt slip.  The colors, when fired with a clear glaze over, will look NOTHING like you see here.  It may look good, it may be a disaster...I rather like the disasters.  I left the lizard untouched at this point 'cause I'm not sure whether I will glaze him only, or slip him too...just can't decide yet.


 ...a close look at the lizard...


 ...done...for now...until I decide what to do next...

Monday, June 11, 2012

A little organization goes a long way today...

This morning I'll be adding adding handles to the three pots I assembled Friday night.  I spent the weekend cleaning and organizing other stuff and researching/thinking about how I want to finish the surface of the 7 pots I have sitting on my table.  I pulled out all my mason stains to see what I have to work with as far as colored slips go.  According to what I see here....I still need a good red (good luck with that, huh?)


 Meanwhile (while i'm in creative limbo), here's a little pot I made as a teacher sample for my students this spring.  I despise gloss glazes, but the kids love the shiny stuff...


 He's a cute little frog on top of a lily pad...


 So I said I was organizing...I just HAD to get all of the stuff off the surface of my work table...trying to improve the Feng Shui...went to Home Depot, got some hose clamps and added all my tool containers to the side of my table for easy access and clean organization.  Now, everything is at my fingertips rather than piled up on the table.  I feel better...


 Here's a side view.  I used glass jars, a Perrier bottle, a Gatorade bottle, and a coffee cup...along with some colored acrylic pool cups for the bigger stuff.  Perfect.


 See, right to my right, easy access...


:-)

Saturday, June 9, 2012

 welllll...I didn't throw my pots the night before, threw them this morning.  Here's my spot on the front porch with the first lump of clay...


 ...the first pot, a nice little profile...


 ...my sentinel...


 ...the peanut gallery...


 ....profile of pot two...this is a larger one...


 ...nice peaceful setting :-)


 ...
 ...small cache of pots ready to stiffen up for later...


 ...fitting bases...


....the three pots, ready for handles.  They'll sit over night...I may get to them tomorrow, may not...

Thursday, June 7, 2012

 ...aghhh...wow...did not realize the this was going to be the challenge it is.  Fish?  Trout?  Salmon?  These darn fish were not so easy.  I could add more detail, but how much detail will be lost in the final surface treatment.  I think these fish are a little large for the pot...and considerably more difficult than the frogs and lizards in catching the negative space.   I think I had too many distractions today...did not get to this little pot until after 5pm...'s ok, I still had a great day...just was not at home in my little nest *sigh*


 ...close up...
...the other side...now gotta go throw a pot or two for tomorrow's 1-2 pots....nite!

Wednesday, June 6, 2012

 ...next daily pot...it's night, the wheel is on the front porch...so the first step is for me to throw a coupla' pots (small ones this time) with Koda standing guard.  I ran out of red clay...a good thing 'cause it's super messy.  Now I'm using B-mix...LOVE this stuff...white, soft, flexible, and strong.  I throw at night so I can begin working in the AM with a pot that is not so gooey.


 ...next, t's a sunny morning...I prefer rainy ones...but the breeze is cool.  Here you see the two bowls and the basic "stems" I'll be adding them to. 


 ...this is how it begins...


 *squirrel!*...a SUNNY, pretty day...


 Stems added...all roughed in...I like these shapes.  These will be relatively small succulent pots.


 ...adding handles...I liked the lizards so much, thought I'd do frogs today (for you, Jeff and Katherine!)  I think I'll do trout handles on the taller one...but not tonight...I'm tired...


 ...so is Koda...but I did take her to the river to romp this afternoon...


 ...got most of the frog handles on the one pot...the little frog on the left side is waiting for his arms...


...there we go!  :-)  I'll do the trout handles on the other pot first thing in the morning!  I need to start focusing on surface decoration for the 6-8 pots...not quite as much enjoyable...but the most important part (and where I can destroy it in a minute!)  Tomorrow is another day...and another pot!

Tuesday, June 5, 2012

Handles!

 So here are two pots I threw on the wheel...the one in the foreground is a little bigger than I've been using, we'll see what comes of it.  My change, based upon feedback, is to add handles to the pots once assembled.


 Here's the first pot with the bottom cut out, ready to add to the "stem"


 ...and here's the first pot, roughly assembled and very soft, still.


 ...what the inside looks like as the thrown pot is added to the base


 ...rough, but assembled


 ...both assembled...but the big pot is weighing down on the stem and needs to be put upside down for the night.  The basic gesture shapes are in place, though.


 Koda expressing her boredom with my endeavors...


 The pots look a bit better in the morning after I've worked on them a bit.  They are stable and now ready for handles.  WHAT kind of handles...hmmm...


 "squirell!"...it's raining, again.   like that.  This is my awesome view.


 OK, well, I decided on a lizard...I wanted to accentuate the negative space between the pot and the lizard belly.  Is one enough?


 Nope...I decided to add a second to balance out the negative space on each side and to highlight the curve of the piece.


 Koda...at my feet...still bored and incessantly looking for a belly rub...


 Two lizard handles...I like them...


Next pot...less dramatic handles, but still working with the negative space of the pot.  I'm satisfied with having added the handles...makes the pots look more functional.  I've been at it about 6 hours...it's 2pm...I'm tired and ready for a break.  Gotta decide on the surface decoration of these two new additions...

Monday, June 4, 2012

..."older" art work collection...


Click this link for preview of a book showing my "older" work...say between 1996-2008
Well, here is my very first post.  It's June 3, 2012, so that's my official start date.  This first post will include work I started over the last few days.  My goal for the summer is to re-establish my home studio and actually create work on a daily basis as a form of artistic discipline.  For me, that's an oxymoron...I have never done that "discipline" thingy very well.  I'm going to rationalize (which is something I DO do well!) that I've spent the last 16 years "data mining" for information and experimenting with a variety of techniques.  I've had a few galley and exhibition opps, but that avenue just did not seem very interesting to me.  Philosophically I've always held that the focus of making art should be more about process and not product.  I still believe that.  However, I feel the time has come to start producing a "product" of all of the "processes" I have been developing for well over a decade and a half.  Let's see what happens!


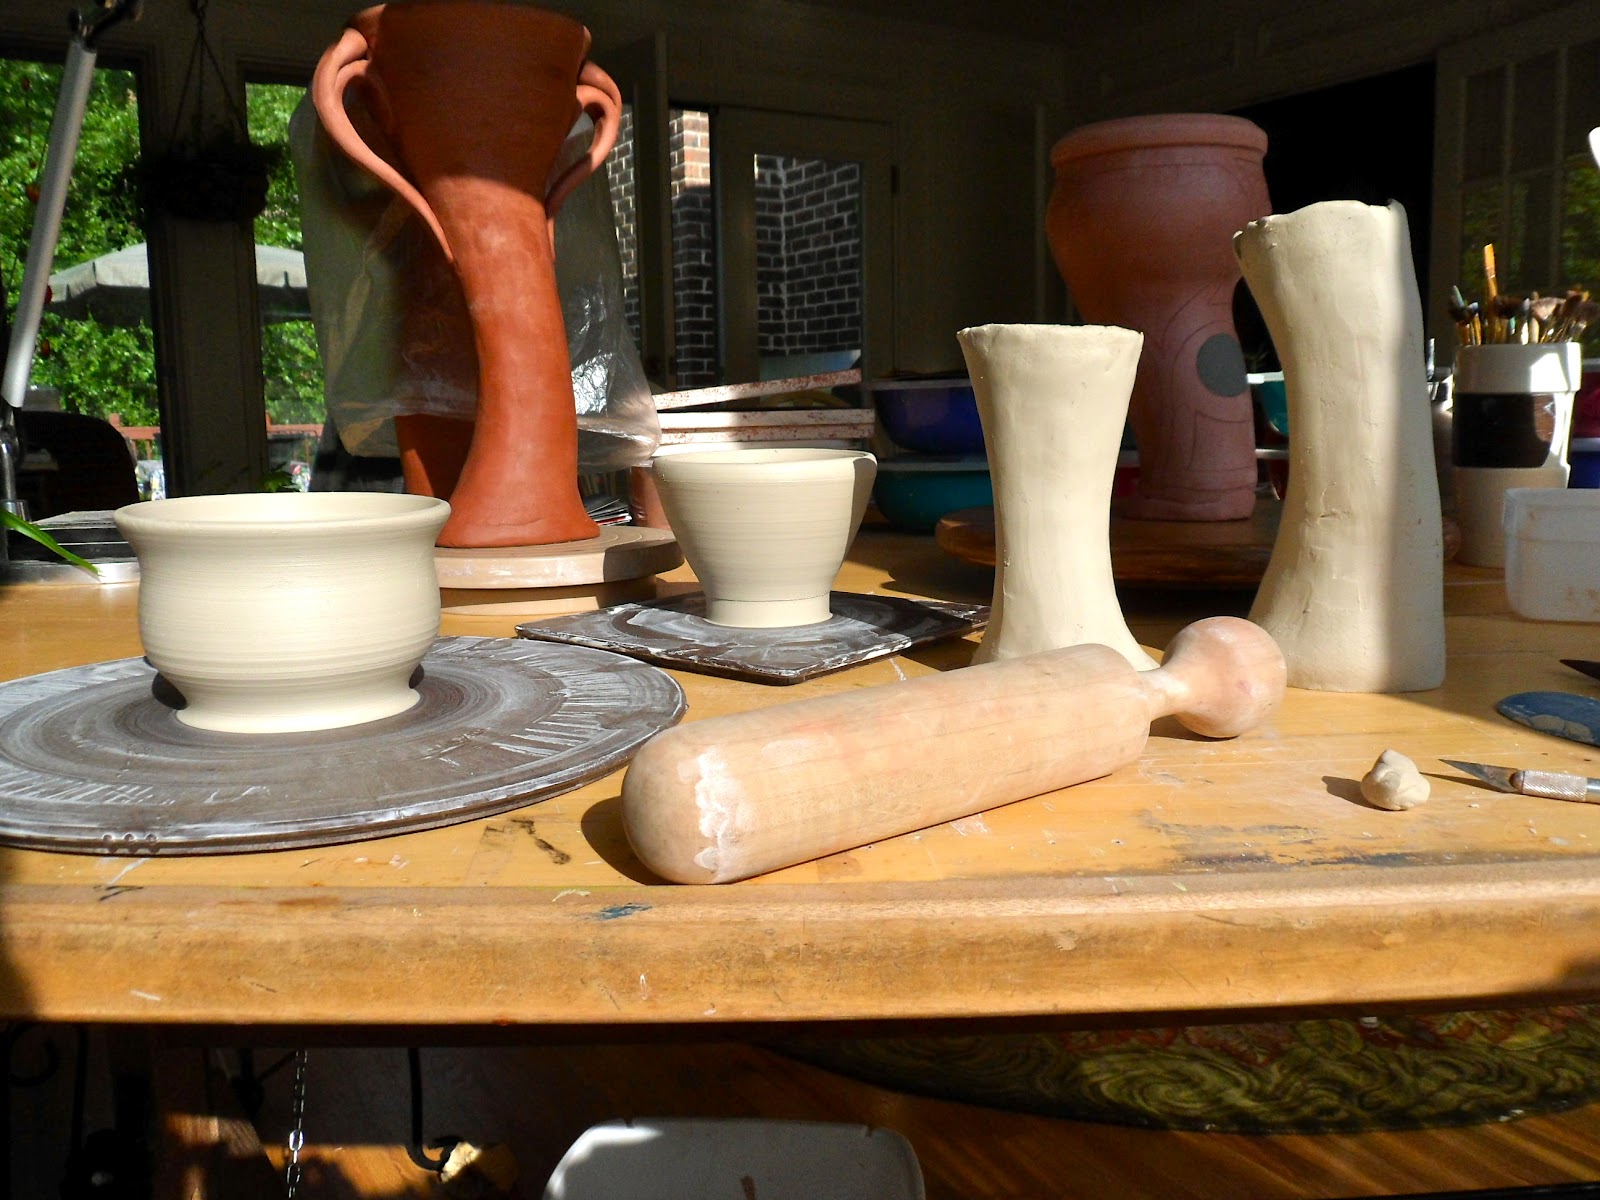
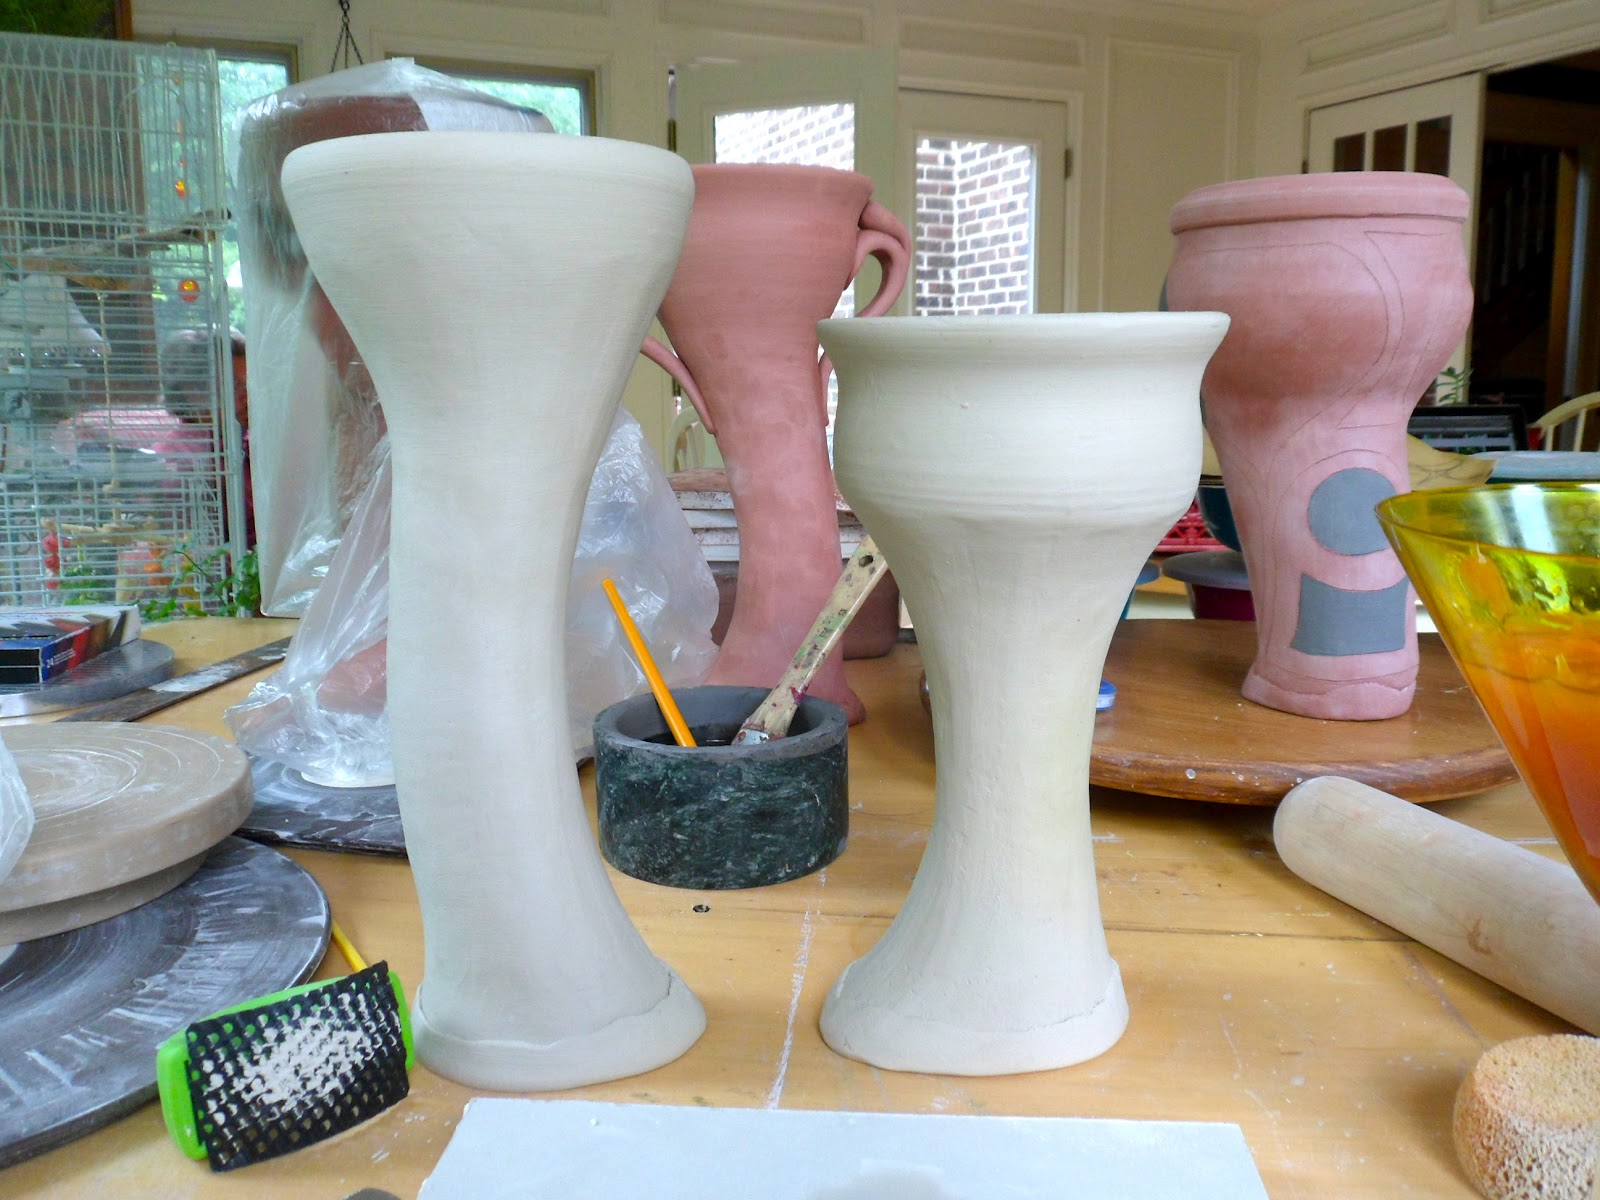
 ALL of these pieces in this first post are UNFIRED.  So, they will look far different when I follow up with glaze or additional surface decoration.  I suppose this goes along with my "it's process, not product" philosophy.  I think it's good to see things at different stages so I can better evaluate and improve the process for better products, no?  I made this pitcher last weekend...stretched from one cylinder.  I like it, impractical as it may be.  It's functional though.  This clay is 308...I think.  I reconstituted it from a couple of bags I bought in 2001.  Yes...11 year old clay!


 OK, I made this Sunday...threw the top on the wheel (much easier than stretching it from one tube) and added it to the cylinder bottom.  The surface treatment is ok, slip painted on in layers.  It's SO not perfect...a stretch for me to be satisfied with.  But surprisingly, I am satisfied.  Reminds me of influences  of Picasso or Miro ceramics...I'm getting to be pretty OK with imperfection.


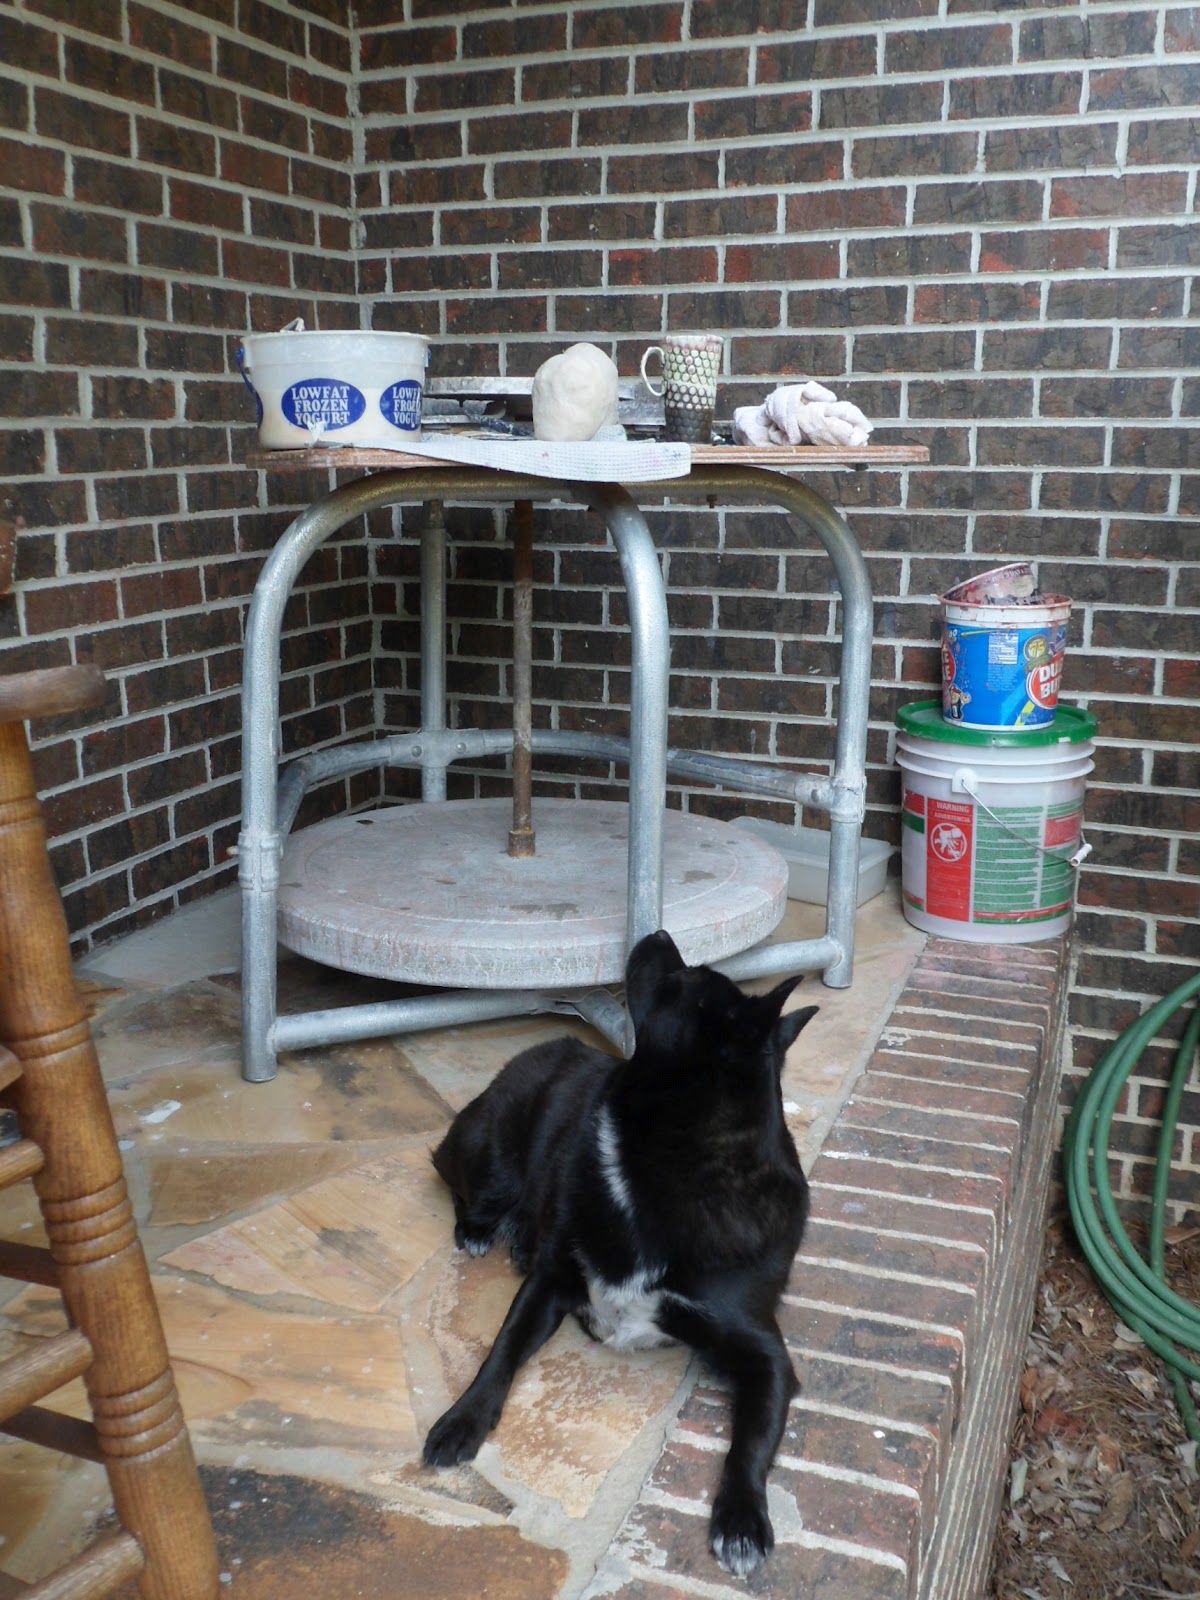
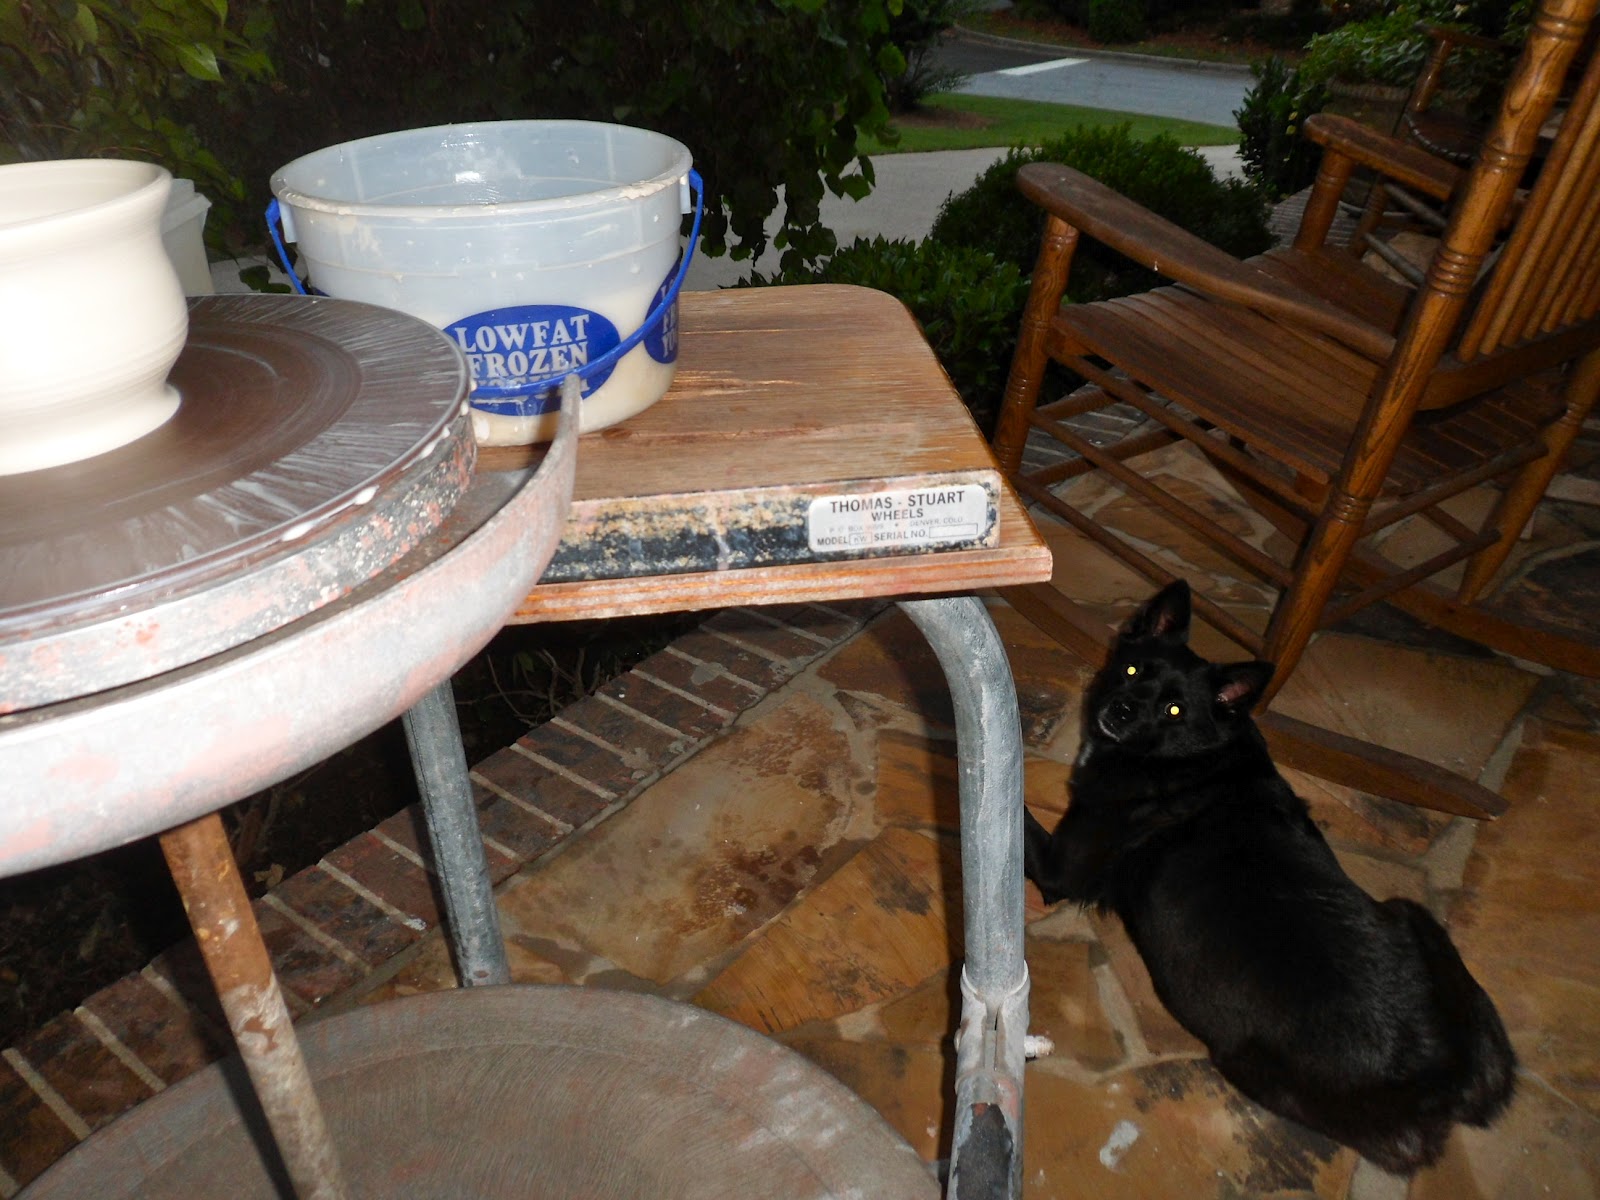
 My little corner of my studio world.  Jay has not said a word about the fact that I have sprawled out in the sun room.  But really, what better spot!  I'm up in the trees overlooking my lovely yard.  I'm very lucky.


 Yeah, well...this is a small footed piece.  At Jay's suggestion, I started developing the foot as a better balance for visual and structural stability.  I'll glaze and fire it...but I'll just consider it as part of the development of this particular body of  work.


 These are a few pinch pots I made a couple of weeks ago as I was experimenting with a new clay.  B-mix is the bomb!  Easy, flexible...and strong!  I need to add surface decoration to these 4 pots.


 My little collection of the things I've made over the last couple of days and weeks...


These pieces seem to represent the direction of my current work.  I hope for them to be functional pieces, perhaps to hold interesting little succulents.  While my work is sculptural, I want them to be functional as well.  You can see the further development of the foot on the piece  to the far right as opposed to the earlier one to it's left.


 The more substantial foot....


 The foot that may not be substantial enough...  Also, again...these pieces will look incredibly different when glazed and fired.  I'll post the finished pics soon.


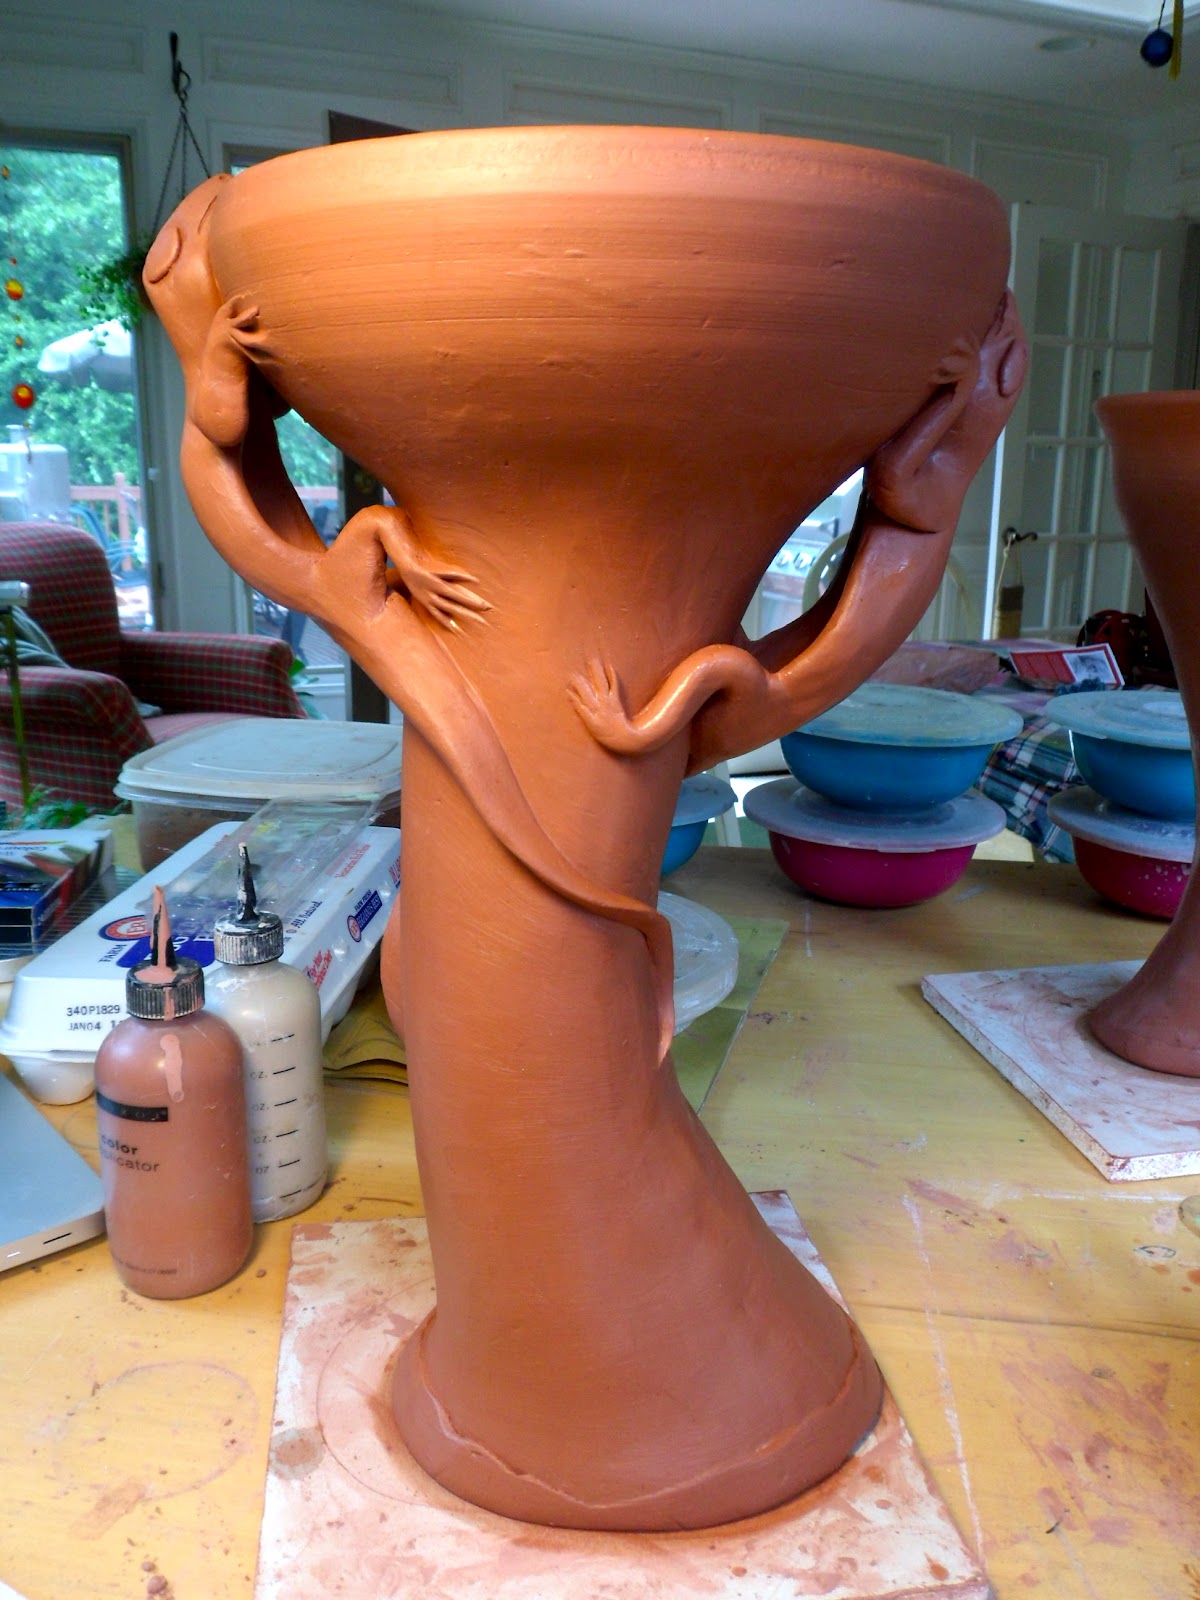
My first pot where I experimented with throwing the top and adding it to the bottom.. LOVE doing this.  The profile is a little unbalanced...that foot needs to be more dramatic and swing over more to the left side there.  I have not added the slip decoration yet, but I do have the shapes sketched out on the surface.